Many people are using wireless 2.4GHz remote controls to control their media PCs. These remote controls usually look like a normal keyboard and quite often have a built-in touchpad or accelerometer. They are quite small and useful, but it’s still an additional thing laying somewhere around. In my opinion, there is nothing better than the traditional universal IR remote control. One device “to rule them all”. Only one thing is missing: the IR receiver.
TL;DR: Step by step HowTo, written in a simple “take this, flash that, enjoy” style.
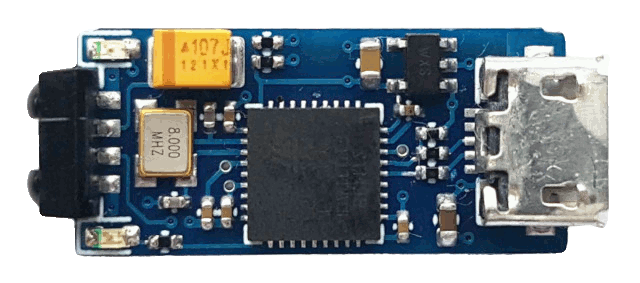
At the end you can get something like this:


There are a lot of possibilities to get an IR packet on PC. You can use serial port, microphone input or even buy some devices like FLIRC, which will convert your remote key to the normal keystroke. Quite a while ago there was an MCE receiver, which is still available on eBay. Some of Intel NUCs even have a built-in IR receiver which understands MCE remote control commands, but in my opinion there is nothing better than IRMP project.
IRMP stands for “InfraRed MultiProtocol” decoder. It’s a hardware IR decoder based on a small microcontroller, which receives and decodes IR packets. A lot of IR protocols and a lot of microcontrollers are supported. There is even an STM32 port available here. I really like this port because it supports a lot of STM32 boards and is really easy to modify according to your needs.
After playing a bit with IRMP and “Blue Pill” I realized that I want to create a custom tiny board. STM32F103T8U6 (STM32F103C8T6 equivalent in VFQFPN-36 package) is small enough, TSOP77338 is a smaller (and better) replacement for TSOP38238.
Hardware
Kicad project with all details is here. All details you might need are in the readme file.
The schematic is very simple:

As you see, there are not too much components: several for USB, several for MCU clock and power and several for IR receiver. All components are easy to find and to solder at home.
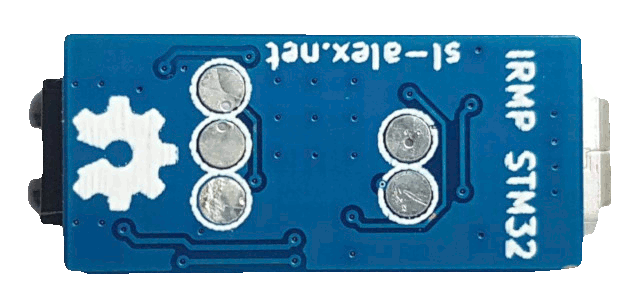
Here is the board preview with SWD pinout:

It is just about 10x20mm and looks really small in comparison with USB-A plug.
Unfortunately, STM32F103T8U6 was not available in US and EU as for the end of 2020, so I had to order them on ali. Highly likely I got chinese clones, but they had correct chip ID and everything worked like a charm.
Software
The software is divided in two parts: the bootloader and the firmware. You should flash the bootloader first and then flash the firmware using dfu-util. You can flash prebuilt or build your own binaries.
Bootloader
The bootloader is almost the same as the original one used in IRMP_STM32 project. The only difference is LED port and pin number. The bootloader should be flashed with any adapter supporting SWD interface. SWD pinout is on the PCB picture above. After flashing MCU starts to blink with green LED indicating that DFU bootloader is ready.
Firmware
The firmware is also nearly the same. It can be flashed using dfu-util in the following way:
- Disconnect the board
- Run
dfu-util -w -D <path_to_the_fw> - Connect the board. Firmware update will start automatically
- Reconnect the board. It will be recognized as a USB HID device
Conclusion
I tried nearly all types of IR receivers and this one is definitely my favourite. It is universal, compact and I can connect it to any computer and any operating system. My search for the best IR receiver is over, IRMP is really the gem.